
WHAT IS SENDPULSE?
SendPulse is a multichannel marketing automation platform that allows you to stay in touch with your customers via numerous communication channels with ease
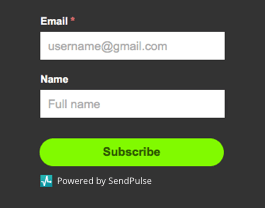
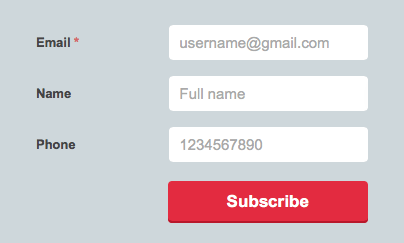
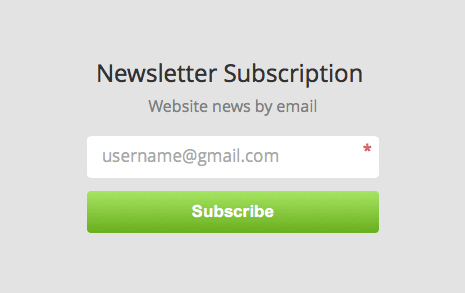
Subscription forms
Start your marketing campaign by building a quality subscriber base. Create your own subscription form with a unique design and place it on your website to collect more contacts.
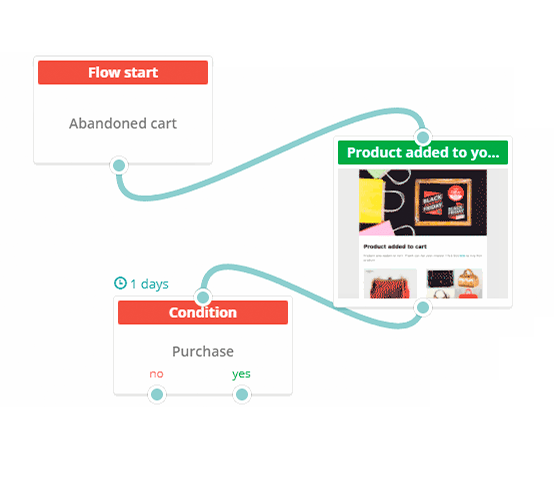
Automation 360
Automate your email campaigns and guide users through each deal stage effectively. Create automated email flows and combine them with web push, SMS, and chatbot messages.

Drag and drop editor
Craft professional and effective bulk email campaigns with minimal effort. Use our intuitive builder to create responsive templates in just a few minutes, even if you have no experience as a designer or programmer.
130+ FREE templates
Responsive emails


or